It is mid-January. Frost is plastering the windows. Your heating system is running hot, but then disaster strikes: a radiator starts leaking or the thermostat just gives up the ghost. The standard advice from plumbing forums? Shut off the boiler and drain the entire heating circuit.
Don’t do that.
Draining hundreds of liters of water is slow, messy, and unnecessary. You can replace the faulty valve locally without flooding your living room or losing heat in the rest of the house. This surgical approach isolates the problem unit while keeping the rest of the network pressurized and warm.
Here is how to swap out a radiator valve without turning your home into a swimming pool.
Prep the Area to Avoid Water Damage
Impromptu plumbing is a recipe for disaster. Before you touch a wrench, you need to stop the inevitable drip before it hits your floorboards. The pressure in the pipes is constant. If you are unprepared, even a few drops can cause warping or mold.
Gather your gear first. Running out to the store while water is already seeping out of a fitting is not an option.
The Essential Toolkit
You do not need a master plumber’s kit, but you do need the right specific tools.
- Adjustable Wrench: Get a large, sturdy one. Standard wrenches can slip and round off the nuts.
- Pliers: Use them with caution. They can mar the metal finish of the valve body if you squeeze too hard.
- Sealing Material: This is where mistakes happen. You have two main choices:
- Teflon Tape: Best for beginners. It is easy to apply and forgiving.
- Hemp and Joint Paste: The professional standard. It lasts longer and allows for slight adjustments without leaking.
- Collection Gear: You will need a shallow basin and old towels or rags. No amount of sealing material can prevent some water from escaping when you break the connection.
Lay Down Protection
Place a plastic sheet on the floor if you have wood or carpet. Position the basin directly under the valve connection. Keep the rags within arm’s reach. Your goal is to catch the residual water in the valve body and the lower part of the radiator. It is not much, but it is enough to ruin a day if you miss it.
Isolating the Radiator Locally
The core advantage of this method is hydraulic isolation. You are not draining the house; you are clamping down on just the faulty unit. This requires understanding how the water flows in and out.
Step 1: Shut the Inlet
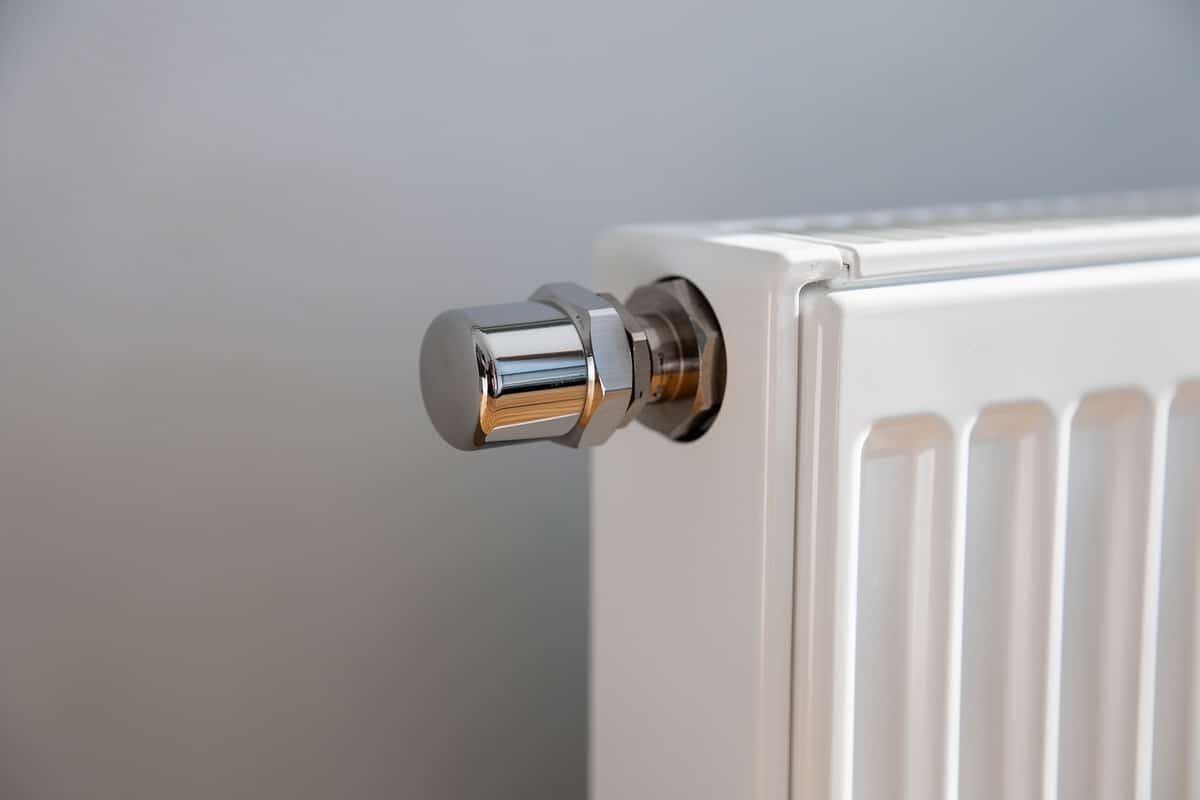
Start with the obvious. Turn the current valve (manual or thermostatic) clockwise until it stops. Feel for the resistance. This cuts the supply of hot water to the radiator.
If the valve spins freely or is already broken, this step is trickier. You might not get a perfect seal. Proceed with extreme caution. In most working cases, this action stops the flow from the main line.
Step 2: Close the Return (The Tees Valve)
Closing the inlet isn’t enough. Water can still flow back through the return pipe from the rest of the house. To truly isolate the radiator, you must block the return.
Locate the adjusting tee or lockshield valve. It is usually on the opposite side of the radiator from the control valve, often hidden under a plastic cap or a blind nut. Remove the cover to reveal a hex-head screw (you will likely need an Allen key).
Screw this stem in all the way to close the return circuit.
Critical Step: Count the Turns
Do not just guess. Count how many turns it takes to fully close this valve. Write it down. When you reinstall the new valve and reopen this tee, you need to return it to the exact same setting. This maintains the thermal balance of your entire heating system. If one radiator gets too much flow because you forgot the count, the rest of the house gets cold.
Why This Method Wins
Most DIYers avoid radiator repairs because they fear the drain-down process. It feels like overkill to empty the system for a single component failure. By isolating the inlet and the return, you turn a major plumbing project into a simple hardware swap.
You avoid the mess. You keep the heat on in other rooms. You save hours of labor.
The next part of this guide will cover the actual removal of the old valve and the installation of the new one, ensuring a leak-free seal. For now, if you have shut those two valves and have your basin ready, you are already ahead of the curve.
The pipes are quiet. The water is still. The stage is set for the hardware swap.
Valve replacement without draining the entire system
They closed the shutoff valves. The radiator is disconnected from the main circuit. The pressure inside the device is no longer dynamic; It’s just standing water waiting to spill. Now you can start the exchange, but you have to do it systematically. One slip and you’re mopping up for an hour.
Managing residual pressure while unscrewing
First, loosen the nut that connects the old valve to the radiator body. The water will immediately enter your bucket. That’s the kind of decompression that happens. Let it run until the flow stops completely. Then move on to the nut that connects the valve to the supply line. This is a critical moment.
If water splashes out, you have not isolated the circuit properly. Stop. Check the valves. If it’s just a trickle or a drip, you’re safe to proceed. Remove the old valve. Use a wire brush to handle the threads. Remove all old joint residue. For a new seal, you need a pristine surface.
Installing the new valve and ensuring a watertight seal
Prep the threads on your new unit. Wrap it with your choice of sealant – PTFE tape or hemp rope. Wrap it in the direction you’ll screw it in. If you choose the wrong direction, it unravels when tightened. First, Screw the new valve body onto the supply pipe. Then connect it to the radiator.
Tighten it tightly. Don’t go overboard and crack the brass fittings. Alignment is key. When the pipes are twisted, you’ll stress the joints. This stress leads to leaks months later. Take your time here.
Final Verdict: Refilling and checking for comfort
The hardware is shiny and seated. But the job isn’t done yet. The radiator must be reconnected to the heating network without flooding your floor or leaving air in the system.
Reopening valves and bleeding the air
Start by reopening the balance tee at the bottom again. Turn it back exactly the number of turns you counted when closing. Then slowly open the new valve. Water flows into the radiator. You hear a hissing or gurgling sound. It’s air trying to escape.
Grab the radiator key. Open the vent valve at the top, opposite the new valve. Let the air vent out until a steady stream of water comes out. Close it immediately. Don’t let the water run.
The result: The heating is back on and a dry floor
Check the new connections carefully. Run a dry finger or a piece of paper around the nuts with a dry finger or paper. There must be no moisture. If it’s dry, you’re good. Check the boiler gauge. The pressure probably dropped when you bled the air. Add water to the circuit until it reaches the normal range – usually 1 to 1.5 bar.
The heating works again. Your floor stays dry. Mastering the shutoff valve turns a scary repair into a manageable task. You save money. You keep the heat. And now you’re ready to tackle smart thermostats for next winter.