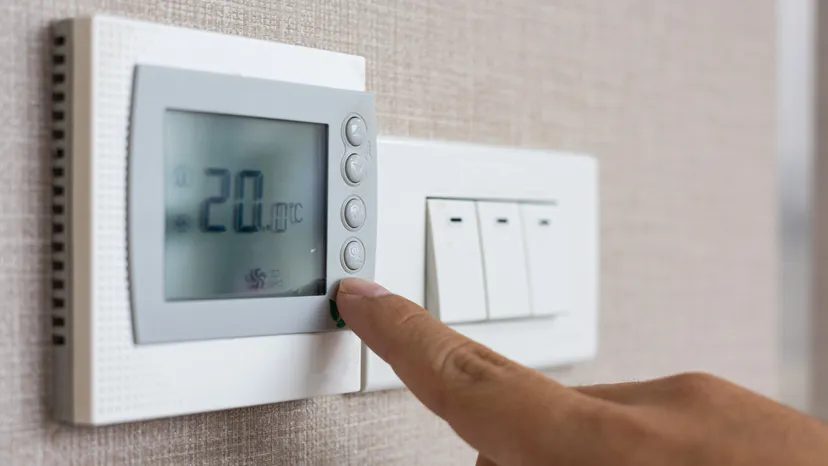
Thermostats are delicate. They react to tiny temperature shifts, which is exactly why they can fail when other heating and cooling parts don’t. It’s not always a broken part. Sometimes, it’s just installation error or dirt.
A loose cover or a bumped base can stop your furnace from starting. A slipped base might throw off the level. But dirt is the real enemy. It messes with calibration. If your thermostat says 70 but holds the room at 73, you’re paying for wasted energy. That inefficiency can hike your bill by up to 7 percent.
Check your unit’s accuracy once a year. Before the heating season starts is the best time.
Loose switches or corroded wires near the bimetallic element cause other issues. Tighten loose connections with a screwdriver. Use a cotton swab to clean off corrosion.
How to Check Thermostat Calibration
Calibration checks are simple. You just need a few household items.
Step 1: Tape a glass tube thermometer to the wall next to your thermostat. Pad it with a paper towel so it doesn’t touch the wall directly. Ensure neither device is influenced by outside temperatures. Some homes have large holes behind the thermostat where wires enter. Cold air sneaks through there. It skews the reading.
Step 2: Wait 15 minutes. Let the mercury stabilize. Compare the thermometer reading to your thermostat needle.
Step 3: If the difference is more than one degree, check for dirt. Remove the faceplate. It usually snaps or catches on friction. Blow out the dust inside. Don’t use a vacuum. The suction is too strong.
If the contact points are accessible, rub a new dollar bill between them. This cleans the spots without damaging them. Never use sandpaper or emery cloth. If the element is coiled, use a soft brush instead.
Step 4: Look for the mercury vial inside. Use a level to ensure the unit is straight. A tilted thermostat reads incorrectly. Loosen the mounting screws. Adjust the unit until it’s perfectly level. Retighten the screws.
Step 5: Run the check again. Follow steps 1 and 2. If it’s still off, replace the thermostat.
Tools Needed for Calibration
You don’t need a professional kit. Grab these items:
- Glass tube thermometer
- Tape
- Paper towel
- New dollar bill or soft brush
- Level
- Screwdriver
How to Replace a Thermostat
Replacing a faulty unit is straightforward. Match the voltage. Compatibility matters. Your new thermostat must work with your specific heating system.
Step 1: Take off the old faceplate. Find the mounting screws. Remove them to pull the thermostat off the wall. Unscrew the connection screws counterclockwise to remove wires. Be careful. Don’t let wires fall into the wall cavity.
Step 2: Scrape the exposed wires with a utility knife. Make the ends shine. Attach them to the new thermostat. The electrical rating must match the old one.
Step 3: Push the wires back into the wall. Tape up the hole. Cold air from inside the walls will affect the new unit if you leave it open.
Step 4: Secure the new thermostat with mounting screws. If it has a mercury tube, use a level during installation. It must be exactly level to function.
Step 5: Snap the faceplate on. Test it. Turn the temperature setting to ensure the system turns on and off properly.
Tools Needed for Replacement
- Screwdriver
- Utility knife
- Replacement thermostat
- Tape
- Level
These steps keep your system efficient. You’ll save money on fuel bills. You’ll also extend the life of your HVAC components.
The process is low-risk. But precision matters. A tilted mercury thermometer or a dirty contact point ruins accuracy. Take the time to get it right.
There’s always more to learn about home energy systems. Efficiency tips and heating and cooling basics are worth reading up on. You never know what small adjustment might save you big money later.