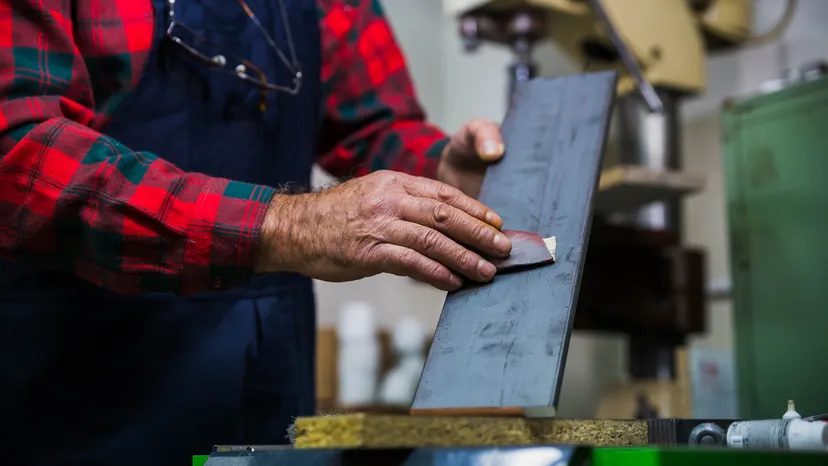
You can polish metal using sandpaper, but you have to be careful. One wrong move and you scratch the finish instead of refining it. Most hardware stores stock basic abrasives, but for real metal polishing, you need specialized finishing paper. If your local shop doesn’t carry the high-grit options, head to an auto repair supply store. They usually have what you need.
The secret isn’t just the grit size. It’s the method. You don’t just grab a sheet and start rubbing. You have to progress through the grits. Start with 600-grit sandpaper. That’s your base. It removes the deep scratches and imperfections from previous work or manufacturing. Then move to finer grades. 1000-grit gets you closer to a mirror finish. For the final polish, try 2500-grit. It’s expensive, but the shine is worth it.
Choosing the Right Abrasive
Not all sandpaper works the same on metal. The material matters. You need to match the abrasive to the metal type.
For hard metals like steel or iron, use aluminum oxide sandpaper. It holds its edge longer and cuts aggressively without falling apart. For softer metals like aluminum or brass, go with silicon carbide. It’s sharper and cleaner for these materials. Using the wrong type can gum up the paper or scratch the surface unevenly.
The Wet Sanding Technique
Never dry sand metal. It’s a bad idea. Dry sanding creates friction heat. This heat can warp thin metal or ruin the temper on tools. It also creates a cloud of fine dust that’s bad for your lungs.
You must use water. Fill a spray bottle or a bucket. Keep the surface wet while you sand. The water acts as a lubricant. It keeps the sandpaper from loading up with metal particles. It also carries away the slurry—the mix of water and metal dust—that forms on the surface. Wipe it off with a clean rag frequently. This lets you see what you’re doing.
“Switch to a finer grit when the surface starts to show a smoother, more uniform appearance without scratches from the coarser grit.”
Here is the process:
- Clean the metal surface first. Remove any grease or oil.
- Soak your 600-grit sandpaper. Water it down.
- Sand in straight lines. Use consistent pressure. Don’t press too hard.
- Check the surface often. Look for the scratches from the previous step.
- Once those are gone, switch to the next grit.
- Repeat the process with 1000-grit, then 2500-grit.
- Wipe clean and dry between each step.
This takes time. It’s not a quick fix. But if you skip steps, you’ll see the deeper scratches come back under the light. Patience is the main tool here.
Tools and Safety Gear
You don’t need much equipment. But you do need the right basics.
- Sandpaper: Waterproof or wet-dry varieties only. Look for P600, P1